Let’s talk about repotting Philodendron Birkin. This is when you move the plant into a bigger pot so it can grow better. The Philodendron Birkin needs to switch pots every 1 or 2 years, or if its roots get crowded, it stops growing well, or water won’t go through the soil like it should.
To do this right, we pick a new pot just a bit larger with holes at the bottom and use dirt that lets water pass through easily. You might need sharp scissors to cut any bad parts off of the roots or leaves.
When moving your Birkin to its new home, be gentle with its roots, check for sick spots on them, put it in as deep as before in fresh dirt and give it water after one day.
After putting your plant in its new pot, give it some time before adding more water each week and make sure there’s enough light but not too much sun. We wait a few weeks to feed it because the new soil already has food for the plant.
Remember: this type of plant can harm pets if they eat it.
Changing pots helps our green friend stay happy and healthy. Let’s learn how we can do this together!
Key Takeaways
- Philodendron Birkins need new pots when roots crowd, growth stops, or water doesn’t drain well.
- Use a pot one size larger with good drainage and mix soil for water flow and root health.
- Check the plant’s roots – trim any that are dark or damaged before putting in fresh soil.
- Place your repotted plant in bright, indirect light and don’t fertilize right away. Wait a few weeks.
- Keep Philodendron Birkin away from cats because it’s toxic and can make them very sick.
Recognizing the Signs Your Philodendron Birkin Needs Repotting

If you notice root crowding and protrusion, stunted growth, or water drainage issues with your Philodendron Birkin, it may be time to consider repotting. These signs indicate that the plant has outgrown its current container and needs a fresh start in new soil.
Root crowding and protrusion
I’ve noticed that my Philodendron Birkin needs some extra attention when the roots start to crowd and push out. This means they’re running out of room. It’s like wearing shoes that are too small.
The plant can’t grow right if its roots are all squished up.
To fix this root crowding, I get my plant a new home with more space. I choose a pot just a bit bigger than the old one and fill it with fresh, well-draining soil. Sometimes, I see twisted or dead roots; those need trimming before moving the plant over.
Taking care of these signs early helps my Philodendron Birkin stay healthy and keep growing strong. And hey, it loves its new spacious pot!
Stunted growth
Sometimes my Philodendron Birkin stops getting bigger. This can mean it’s time to give it a new pot. When this plant doesn’t grow as fast as it should, the roots might not have enough space.
They need room to stretch out and get food from the soil.
A big clue is when new leaves are smaller than the old ones or if you don’t see any new leaves for a long time. It tells me that my plant could be root bound. If I notice these signs, I know it’s best to plan for repotting soon, especially since Philodendron Birkin likes to grow quickly under the right conditions.
Changing pots helps my plant keep growing strong and healthy. Fresh potting soil gives the roots all they need to support more growth up top. It’s like moving into a bigger house with more space to live and play.
My Birkin gets happier with more room, just like we do!
Water drainage issues
After noticing your Philodendron Birkin isn’t growing much, it’s time to check how well the water is flowing out of the pot. If water sits in the pot too long, it can hurt your plant.
This happens because Philodendron Birkin likes its roots to be in moist soil but not soaking wet. Too much water can cause root rot and make leaves turn yellow.
Make sure your plant has a good home with holes at the bottom for extra water to escape. A well-draining potting mix is also key. Mixes with peat moss or orchid bark let air get to the roots and keep them healthy.
You want a balance – soil that holds some moisture but lets go of extra water fast enough so that roots are safe and happy.
Preparing to Repot Your Philodendron Birkin

Before starting the repotting process, it’s essential to choose the right pot size and select a well-draining potting mix. Gather all the necessary tools such as a trowel, gloves, and a container to hold excess soil.
These preparations will ensure a smooth and efficient repotting experience for your Philodendron Birkin.
Selecting the right pot size
To select the right pot size for your Philodendron Birkin, look for a container that is one size larger than its current pot. The new pot should have good drainage holes to prevent water from accumulating at the bottom.
When choosing a new pot, aim for a diameter that is 1-2 inches larger than the existing one. This will provide ample space for your plant to grow comfortably without being overwhelmed by an excessively large container.
Keep in mind that the right-sized pot allows room for future growth of your Philodendron Birkin.
Choosing a well-draining potting mix
When choosing a potting mix for your Philodendron Birkin, I always look for one that provides good drainage. This is essential to prevent water from accumulating around the roots and causing problems like root rot.
A mix with perlite or coarse sand is great as it helps in creating air pockets and ensures excess water flows out properly. Moreover, having a balance of organic materials like peat moss or coconut coir can retain moisture while still allowing for good drainage.
The right pH level is crucial for the well-being of your Philodendron Birkin, making it important to choose a potting mix with balanced acidity or alkalinity. To achieve this balance, opting for ready-made mixes specifically formulated for tropical plants such as Philodendrons can be beneficial.
Gathering necessary tools
When it comes to repotting your Philodendron Birkin, having the right tools is essential. Here’s what you need:
- Sharp, sterile scissors or pruning shears for taking stem cuttings.
- Small shovel or trowel for scooping and handling soil.
- Clean, well – draining pot of appropriate size for repotting.
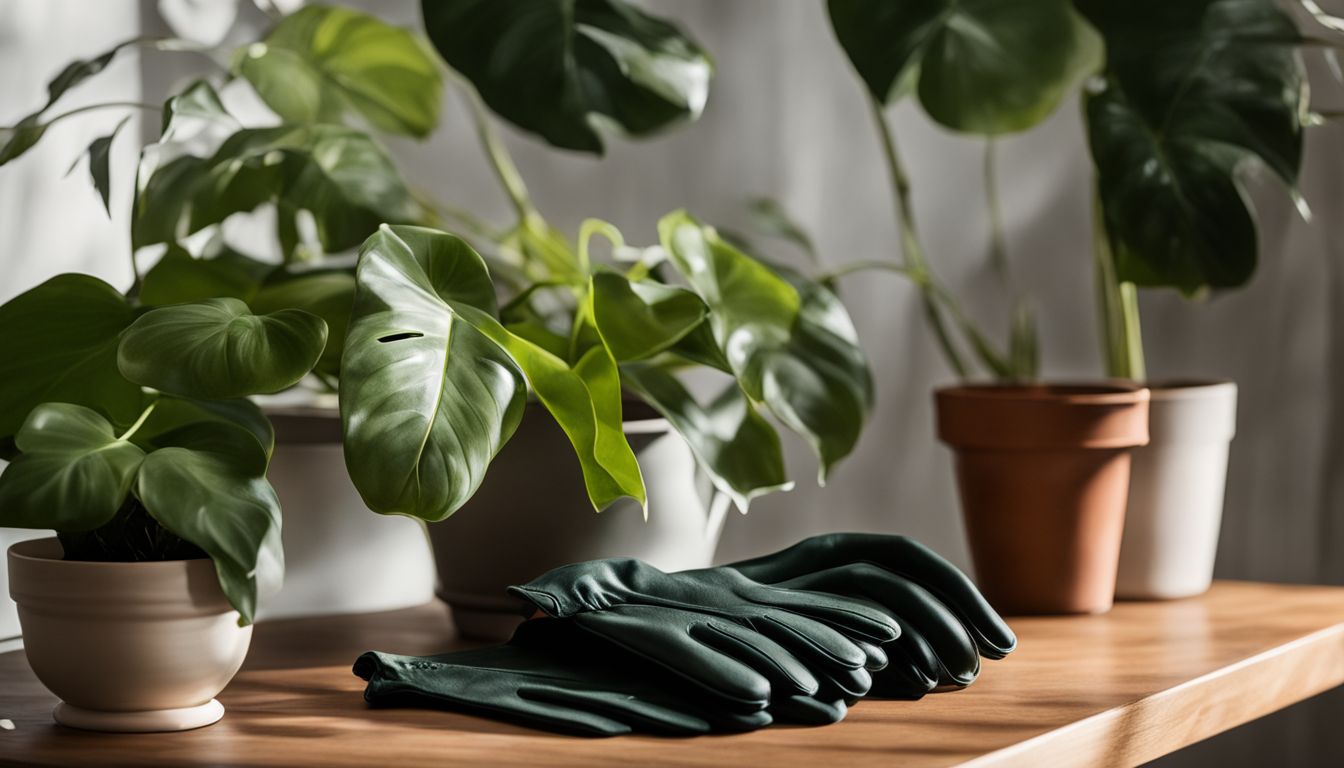
- Gloves to protect your hands while handling the plant and soil.
- Watering can with a fine spout for gentle watering after repotting.
- Paper towels or old newspapers for easy cleanup.
Step-by-Step Guide to Repotting Philodendron Birkin
Gently remove the plant from its current pot, inspect and trim the roots if necessary, and repot with fresh soil and proper placement. For detailed instructions on each step, along with helpful tips for successful repotting, keep reading!
Gently removing the plant from its current pot
First, gently tap the sides of the pot to loosen the soil and roots. Then, hold the base of the stem with one hand and turn the pot upside down while supporting the plant at its base.
Next, carefully wiggle or tap the pot until it slides off. If it’s stuck, softly squeeze or flex the pot to release it without harming the plant.
To avoid damaging delicate roots, refrain from pulling forcefully on stems or leaves. Instead, let gravity do most of the work. If needed, use a clean tool to separate stubborn roots from inside of the pot.
Inspecting and trimming the roots if necessary
After gently removing the plant from its current pot, it’s essential to inspect the roots before repotting. This is a critical step for ensuring the Philodendron Birkin’s health in its new environment.
When handling the roots, I look for signs of distress or disease as part of my routine inspection. If any roots appear dark brown or damaged, I carefully trim them using sterile scissors before replanting.
Inspecting and trimming the roots if necessary helps me ensure that my Philodendron Birkin thrives in its new pot. Trimming affected roots not only promotes healthier growth but also prevents potential issues caused by overcrowding or damaged root systems.
Repotting with fresh soil and proper placement
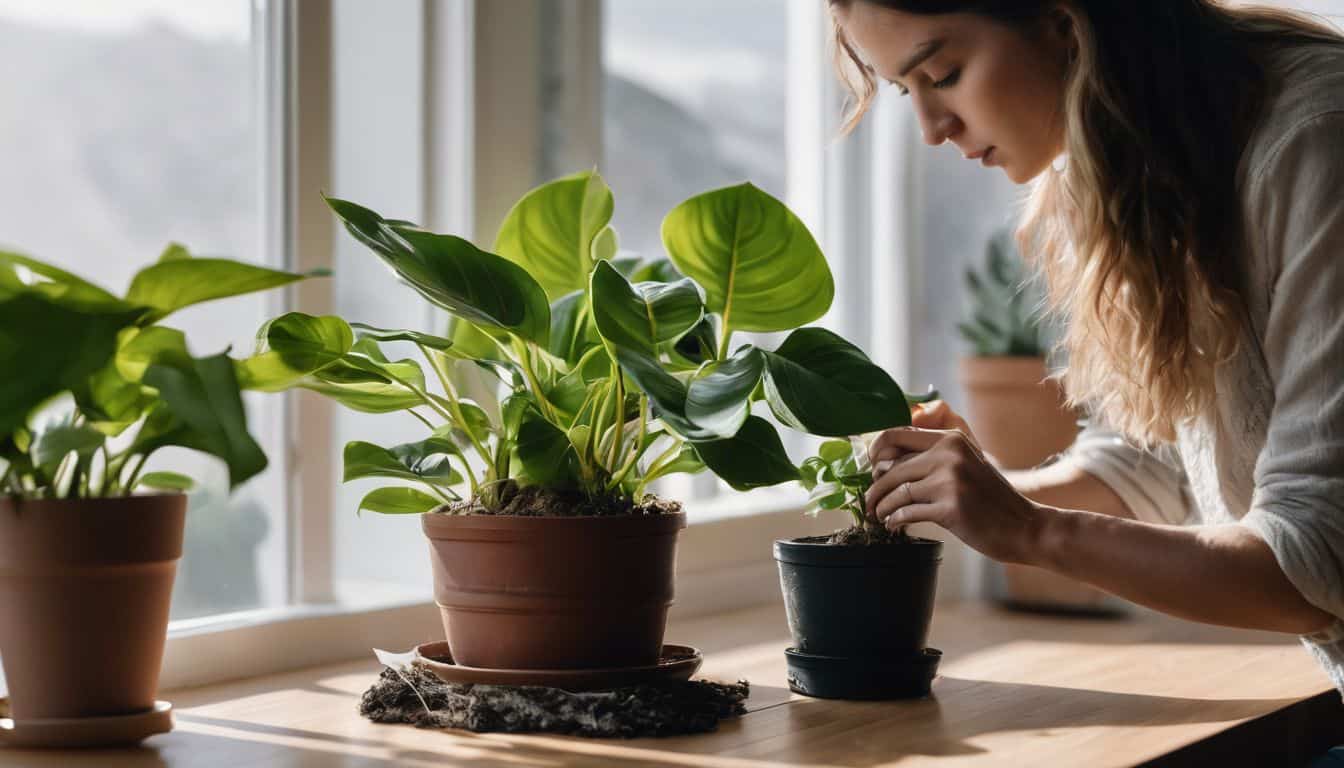
After checking and trimming the roots, it’s time to repot your Philodendron Birkin. Select a slightly larger pot with good drainage, ensuring it has fresh soil that’s porous enough for water flow.
Gently place your plant into the new pot, filling around the edges with soil until it can stand freely. Remember not to bury the stem too deeply; maintain its original planting depth.
Then give it some water after a day to help any broken roots callous over before further watering adjustments.
Post-Repotting Care for Philodendron Birkin
After repotting your Philodendron Birkin, it’s important to adjust your watering regimen to accommodate the new soil and pot size. Consider the placement of your plant in terms of light and temperature, and wait until the plant has had time to adjust before fertilizing.
Watering regimen adjustments
After repotting your Philodendron Birkin, it’s crucial to adjust its watering regimen to ensure proper growth and health. Check the soil moisture by testing the top inch of the soil before watering.
It’s recommended to water once a week, but make sure not to over-water as the plant tolerates drought better. After watering, allow the soil to drain thoroughly to prevent waterlogging and potential root rot.
To cater to its preference for dry conditions, consider adjusting your watering schedule based on the plant’s need rather than a fixed weekly routine. Maintaining proper care is vital for this thirsty plant, especially after repotting.
Location and light considerations
When it comes to the location and light for your Philodendron Birkin after repotting, it’s vital to place it in a spot with bright, indirect sunlight. This will help promote healthy growth and overall well-being.
Ensure the plant is near a window but shielded from direct sunlight to prevent any damage.
Philodendron Birkin thrives in locations that receive adequate bright, indirect light for optimal growth post-repotting. Remember that finding the right balance of light is crucial for the plant’s health and development.
When to fertilize after repotting
After repotting, it’s best to wait a few weeks to a month before fertilizing your Philodendron Birkin. The fresh soil added during repotting already contains the essential nutrients needed for the plant’s growth.
Patience is key; allowing the plant time to adjust after repotting ensures that fertilization will be more effective when you do start. This waiting period gives your Philodendron Birkin the opportunity to settle into its new environment and prevents overloading it with unnecessary nutrients too soon.
Remember, giving your plant time after repotting can help in ensuring its continued health and vibrant growth without overwhelming it with additional fertilizer right away.
Philodendron Birkin Safety Tips: Is it Toxic to Cats?
Philodendron Birkin is toxic to both humans and pets, including cats. Ingesting this plant can cause intense hypersalivation or vomiting in pets. It’s crucial to keep Philodendron Birkin out of reach of children and pets to prevent ingestion, as it can lead to throat or stomach irritation due to the crystals it contains.
As part of caring for your Philodendron Birkin, be mindful of its toxic nature and take necessary precautions by placing it in areas inaccessible to your furry friends.
It is recommended that Phytophile pet owners consult the ASPCA website for comprehensive information on the toxicity of Philodendron Birkin and other plants within their homes. Learn how to recognize and respond appropriately if a cat ingests any part of the plant by contacting a veterinarian promptly; quick action is essential in such circumstances, potentially preventing serious health issues for your pet.
Remember, prevention is always better than cure when it comes to keeping our beloved feline companions safe from harmful substances.
Conclusion
In conclusion, repotting your Philodendron Birkin is a simple process that can lead to healthier and more vibrant growth. The practical steps and tips provided in this guide make the repotting process efficient and easy to follow.
By following these strategies, you can ensure the well-being of your Philodendron Birkin while addressing common issues such as root crowding and stunted growth. For further guidance on caring for your plant, explore additional resources or reading materials available.
Embrace the opportunity to enhance your plant’s health and vitality with confidence in these effective repotting techniques.
FAQs
1. How often should I repot my Philodendron Birkin?
You should repot your Philodendron Birkin when it outgrows its pot or every couple of years to keep up with its growth rate.
2. What kind of soil is best for a Philodendron Birkin?
The best soil for a Philodendron Birkin is a mix of dirt, compost, and worm castings that drains well. It’s good for the plant which comes from tropical rainforests.
3. Can I put my potted Philodendron Birkin outside?
Yes, but make sure to keep your potted plant in a warm temperature range without frost because it likes conditions like those in tropical regions.
4. What do I do if my indoor plant has bugs?
If pests attack your houseplant from the Araceae family, you can wash them away with insecticidal soap or use porous paper to catch tiny insects like thrips.
5. Where should I cut when transplanting a rooted cutting of Philodendron Birkin?
When transplanting a rooted cutting, be careful not to hurt the hardiness of the young plant and cut below where roots grow out so you can place it in fresh soil.


